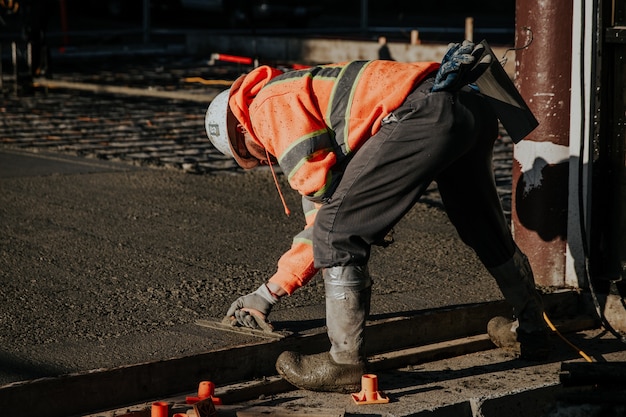
Concrete leveling is a crucial aspect of maintaining the integrity and aesthetics of any property. Uneven concrete surfaces not only pose safety hazards but can also detract from the visual appeal of a space. Fortunately, DIY concrete leveling techniques can effectively address these issues, saving both time and money. This article delves into expert tips for achieving professional results with DIY concrete leveling, ensuring surfaces are safe and visually appealing.
Understanding Concrete Leveling
Concrete leveling involves restoring the evenness of concrete surfaces, eliminating dips, and correcting slopes. It is an essential maintenance practice for driveways, sidewalks, patios, and flooring. Mastering concrete leveling techniques can enhance the durability and appearance of these surfaces.
Key Benefits of Concrete Leveling
- Improved safety by reducing trip hazards.
- Enhanced property value and curb appeal.
- Extended lifespan of concrete surfaces.
- Cost-effectiveness compared to complete replacement.
Essential Tools and Materials
Before embarking on a DIY concrete leveling project, gather the necessary tools and materials. This preparation ensures a seamless and efficient process.
- Concrete grinder: For smoothing out the surface.
- Leveling compound: To fill low areas and achieve a flat surface.
- Mixing tools: Such as buckets and a mixing paddle.
- Screed board: For spreading the leveling compound evenly.
- Protective gear: Including gloves and safety glasses.
For a comprehensive understanding of the materials and tools, explore advanced guides and tips.
Step-by-Step Concrete Leveling Process
Adhering to a structured approach can greatly enhance the success of your DIY concrete leveling project. Follow these steps for optimal results:
Step 1: Surface Preparation
Begin by cleaning the surface thoroughly to remove dirt, debris, and grease. This ensures better adhesion of the leveling compound. Use a concrete grinder to smooth out any high spots and create a uniform surface.
Step 2: Apply Primer
Applying a primer enhances the bonding of the leveling compound to the existing concrete. Ensure the primer is evenly applied and allowed to dry completely before proceeding to the next step.
Step 3: Mix and Apply Leveling Compound
Mix the leveling compound according to the manufacturer’s instructions. Use a screed board to distribute the compound evenly across the surface, ensuring all low spots are adequately filled. For more detailed instructions, discover expert strategies here.
Step 4: Smooth and Finish
Once applied, use a trowel to smooth the surface. Ensure there are no air bubbles or uneven areas. Allow the compound to cure as per the manufacturer’s guidelines for a durable finish.
Common Mistakes to Avoid
While DIY concrete leveling is achievable, certain pitfalls can compromise the results. Avoid these common mistakes to ensure a successful project:
- Neglecting surface preparation, leading to poor adhesion.
- Using the wrong type of leveling compound for the surface.
- Overlooking the curing time, which can weaken the finish.
- Applying too thick a layer, resulting in cracks.
For further insights on avoiding these pitfalls, find out more about this approach.
Conclusion
DIY concrete leveling can be both rewarding and cost-effective when executed correctly. By understanding the process and avoiding common mistakes, you can achieve professional-grade results that enhance both the safety and aesthetics of your concrete surfaces. For those seeking additional resources and guidance, learn about our tailored solutions for effective concrete leveling.